
Docker for Beginners: Containerize a Simple To-Do List App
Containers are like lunchboxes for your code, they keep everything your app needs neatly packed and ready to run anywhere. In this tutorial, we’ll Dockerize a basic Node.js to-do list app. No prior Docker experience needed!
What You’ll Learn
- How to create a
Dockerfile(the recipe for your container). - How to build a Docker image (the packed lunchbox).
- How to run a container (the lunchbox in action).
Prerequisites
- Install Docker Desktop (for macOS/Windows) or Docker Engine (for Linux).
- Basic familiarity with the terminal.
- Install an IDE(
integrated development environment), simply a program with useful tools to write code, such as Visual Studio Code
If you doesn’t know about any of these, or forget, read my previous guide
Step 1: Create Your To-Do List App
First, let’s make a simple Node.js app. Create a folder named todo-app( or whatever you want, mine is docker-todo) with two files:
package.json
{
  "name": "todo-app",
  "version": "1.0.0",
  "main": "app.js",
  "scripts": {
    "start": "node app.js"
  },
  "dependencies": {
    "express": "^4.18.2"
  }
}
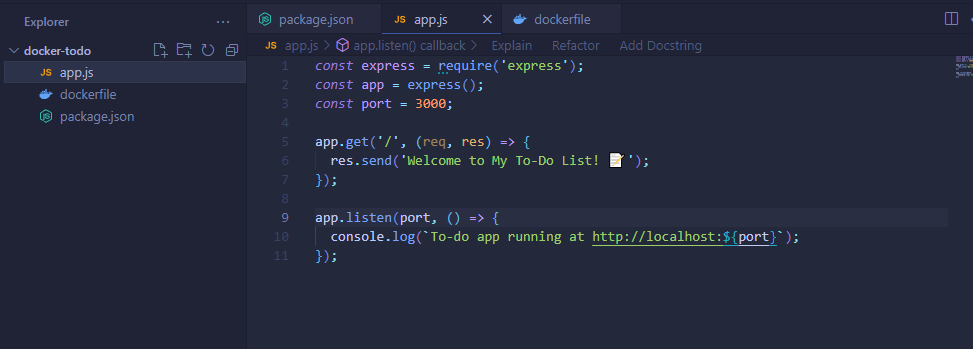
app.js
const express = require('express');
const app = express();
const port = 3000;

app.get('/', (req, res) => {
  res.send('Welcome to My To-Do List! 📝');
});

app.listen(port, () => {
  console.log(`To-do app running at http://localhost:${port}`);
});
This app uses Express.js to display a welcome message.
Step 2: Create the Dockerfile
A Dockerfile is like a recipe telling Docker how to build your app. Create one in your project folder:
# Use the official Node.js image (like borrowing a pre-built kitchen)
FROM node:18

# Set the working directory inside the container
WORKDIR /app

# Copy package files first (this helps Docker cache dependencies)
COPY package*.json ./

# Install dependencies (like unpacking groceries)
RUN npm install

# Copy the rest of the app code
COPY . .

# Tell Docker the app uses port 3000
EXPOSE 3000

# Start the app (like turning on the oven)
CMD ["npm", "start"]
Key Notes:
COPY package*.json ./comes beforeCOPY . .to optimize Docker’s layer caching.EXPOSE 3000is a documentation step, it doesn’t publish the port (we’ll handle that later).
Your project directory now should look like this:
Step 3: Build Your Docker Image
Open a terminal in your todo-app folder and run:
docker build -t todo-app:v1 .
-t todo-app:v1tags your image with a name (todo-app) and version (v1).- The
.tells Docker to use the current directory.
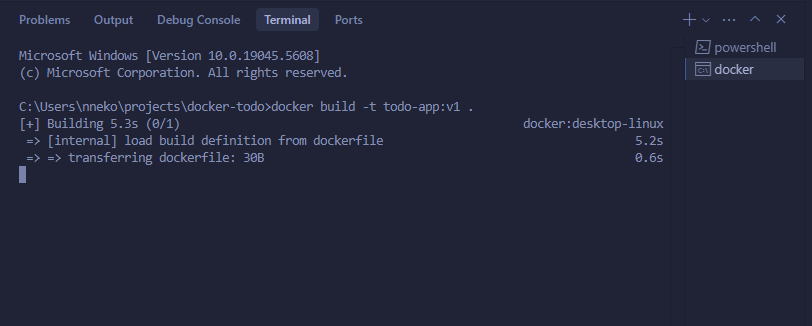
Success looks like this:
Successfully built abc123xyz
Successfully tagged todo-app:v1
Step 4: Run Your Container
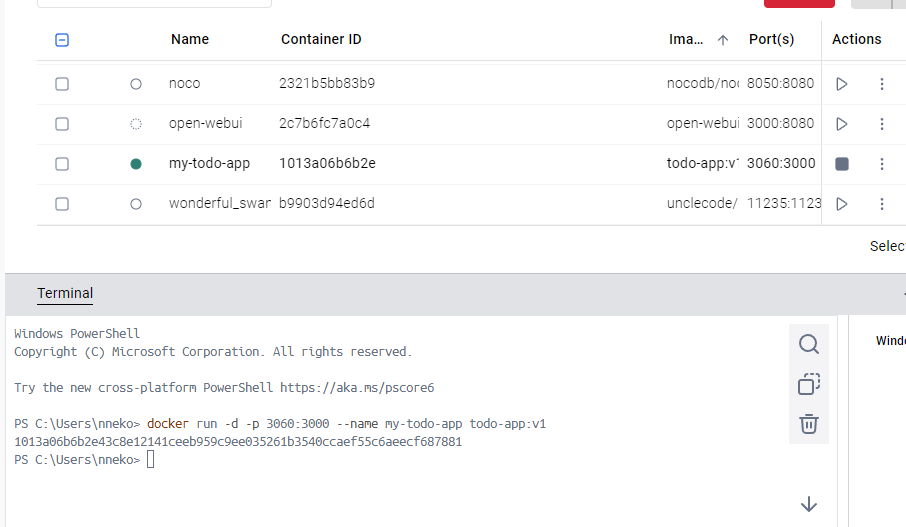
Start your container in detached mode (running in the background):
docker run -d -p 3060:3000 --name my-todo-container todo-app:v1
- edit
my-todo-container-to the name that you want the container to display. -d: Detached mode (your terminal stays free).-p 3060:3000: Maps your computer’s port 3060 to the container’s port 3000.--name: Names your container for easy reference.
And this is result we’ll get:
Step 5: Test Your App
Open your browser and visit http://localhost:3060. You’ll see:

Yea, I know the app is shitty and not even comparable to a simple html page, but you get the idea of building a docker image now, don’t complain.
To check if the container is running: (if you use headless method)
docker ps
Step 6: Clean Up
Stop and remove your container when done: (if you use headless method)
docker stop my-todo-container
docker rm my-todo-container
Or you could simply just simple delete the container with interactive buttons in Docker Desktop.
Troubleshooting Tips
- Port Conflict: If port
3060is busy, change the host port (e.g.,-p 3070:3000). - Missing Files: Double-check that
package.jsonandapp.jsare in your project folder. - Image Not Found: Rebuild with
docker build -t todo-app:v1 ..
How Docker Works In Summary
- Dockerfile = Recipe
- Image = Packed lunchbox (immutable).
- Container = Lunchbox opened and in use.
- Docker Hub = Grocery store for pre-made recipes.
Next Steps
- Add more features to your to-do app (e.g., tasks stored in a JSON file). - If you have the time~
- Push your image to Docker Hub and share it! - If you ever build something nice~
- Learn
docker composeto run multi-container apps.
Final Tip: Run docker system prune occasionally to clean up unused images and containers.
Now you’ve Dockerized your first app! 🐳
See you next guide!